$200 DIY Home Security: Raspberry Pi Surveillance That Beats Ring Cameras
$200 DIY Home Security: Raspberry Pi Surveillance That Beats Ring Cameras
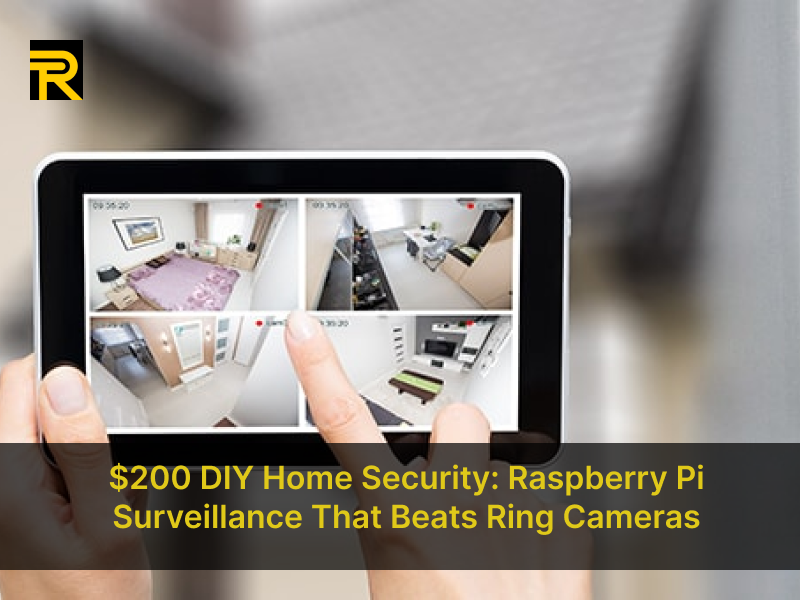
Home security is a top priority for homeowners, but the high costs of systems like Ring and Arlo can be a barrier. Enter the Raspberry Pi security camera no monthly fee solution—a DIY approach that’s affordable, customizable, and just as effective. For under $200, you can build a surveillance system with features like OpenCV face recognition, motion detection alerts, and Home Assistant integration. In this guide, we’ll walk you through everything you need to know to create a DIY home security system that outperforms commercial options.
Raspberry Pi Security Camera No Monthly Fee
One of the biggest advantages of a Raspberry Pi security camera no monthly fee system is the elimination of recurring costs. Unlike Ring or Arlo, which charge monthly fees for cloud storage and advanced features, a Raspberry Pi setup is entirely self-hosted. This means you own your data and avoid ongoing expenses.
To get started, you’ll need:
-
A Raspberry Pi (preferably the latest Raspberry Pi 5 for better performance).
-
A compatible camera module (such as the Raspberry Pi Camera Module 3).
-
A microSD card for storage.
-
Open-source software like MotionEyeOS or ZoneMinder.
With these components, you can set up a Raspberry Pi security camera no monthly fee system that rivals commercial alternatives.
OpenCV Face Recognition Tutorial 2024
Adding OpenCV face recognition to your Raspberry Pi security system can take it to the next level. OpenCV is an open-source computer vision library that enables advanced features like facial recognition. Here’s a quick OpenCV face recognition tutorial 2024:
-
Install OpenCV: Use pip to install OpenCV on your Raspberry Pi.
pip install opencv-python -
Train the Model: Collect images of faces you want to recognize and train the model using OpenCV’s face recognition module.
-
Integrate with Your Camera: Use Python scripts to integrate face recognition with your Raspberry Pi camera.
-
Set Up Alerts: Configure the system to send alerts when an unrecognized face is detected.
This OpenCV face recognition tutorial 2024 ensures your DIY system is as smart as it is secure.
DIY CCTV with Motion Detection Alerts
A key feature of any security system is motion detection alerts. With a Raspberry Pi, you can easily set up a DIY CCTV with motion detection alerts using software like MotionEyeOS. Here’s how:
-
Install MotionEyeOS: Flash the MotionEyeOS image onto your microSD card and boot up your Raspberry Pi.
-
Configure Motion Detection: Adjust sensitivity settings to avoid false alarms.
-
Set Up Alerts: Use email or push notifications to receive alerts when motion is detected.
This DIY CCTV with motion detection alerts setup ensures you’re notified of any suspicious activity in real time.
Home Assistant Integration for Smart Alarms
Integrating your Raspberry Pi security system with Home Assistant integration for smart alarms adds another layer of convenience and control. Home Assistant is an open-source home automation platform that allows you to manage all your smart devices in one place.
To integrate:
-
Install Home Assistant: Set up Home Assistant on a separate device or directly on your Raspberry Pi.
-
Connect Your Camera: Use the Home Assistant UI to add your Raspberry Pi camera.
-
Automate Alarms: Create automation rules to trigger alarms or notifications based on motion detection or facial recognition.
With Home Assistant integration for smart alarms, your DIY system becomes part of a seamless smart home ecosystem.
Cost of Self-Hosted vs Ring/Arlo Systems
When comparing the cost of self-hosted vs Ring/Arlo systems, the savings are significant. A typical Ring or Arlo system can cost 200−200−500 upfront, plus 10−10−30 per month for cloud storage and features. In contrast, a Raspberry Pi security camera no monthly fee system costs under $200 with no recurring fees.
Here’s a breakdown:
-
Raspberry Pi 5: $75
-
Camera Module: $50
-
Accessories (SD card, case, etc.): $50
-
Total: $175
The cost of self-hosted vs Ring/Arlo systems clearly favors the DIY approach for budget-conscious users.
Best IR Night Vision Cameras for Pi
For 24/7 surveillance, you’ll need the best IR night vision cameras for Pi. The Raspberry Pi Camera Module 3 with an IR cut filter is a popular choice, offering clear night vision up to 30 feet. Other options include:
-
Arducam Night Vision Camera: Affordable and compatible with Raspberry Pi.
-
Waveshare IMX219 Night Vision Camera: High-quality imaging with IR LEDs.
These best IR night vision cameras for Pi ensure your system is effective even in low-light conditions.
Prevent IP Camera Hacking with VPN
Security is a two-way street—while you’re protecting your home, you also need to prevent IP camera hacking with VPN. Exposing your Raspberry Pi camera to the internet can make it vulnerable to hackers. A VPN (Virtual Private Network) encrypts your connection, keeping your system secure.
Steps to prevent IP camera hacking with VPN:
-
Set Up a VPN: Use services like OpenVPN or WireGuard to create a secure connection.
-
Configure Your Pi: Install the VPN client on your Raspberry Pi.
-
Restrict Access: Only allow connections through the VPN.
This ensures your DIY system remains private and secure.
Raspberry Pi 5 vs Google Nest Cost Analysis
A Raspberry Pi 5 vs Google Nest cost analysis reveals why the DIY route is more economical. While the Google Nest Cam costs 200percameraplusa200percameraplusa6 monthly fee, the Raspberry Pi 5 offers similar functionality for a fraction of the cost.
-
Raspberry Pi 5: $75 (one-time cost).
-
Google Nest Cam: 200+200+6/month (ongoing costs).
The Raspberry Pi 5 vs Google Nest cost analysis highlights the long-term savings of a DIY system.
GitHub Repos for Home Security Scripts
For those who love to tinker, GitHub repos for home security scripts are a treasure trove of resources. Popular repositories include:
-
MotionEyeOS: A full-featured surveillance system for Raspberry Pi.
-
ZoneMinder: Open-source CCTV software with motion detection.
-
Home Assistant: Integration scripts for smart home automation.
These GitHub repos for home security scripts make it easy to customize and enhance your DIY system.
Legal Issues with DIY Surveillance Laws
Before setting up your DIY system, it’s important to understand the legal issues with DIY surveillance laws. Key considerations include:
-
Privacy Laws: Ensure your cameras don’t record areas where people have a reasonable expectation of privacy (e.g., neighbors’ properties).
-
Audio Recording: Some jurisdictions require consent for audio recording.
-
Data Storage: Comply with local laws regarding data retention and access.
Understanding the legal issues with DIY surveillance laws helps you avoid potential legal pitfalls.
Conclusion
Building a $200 DIY home security system with a Raspberry Pi is not only cost-effective but also highly customizable. From OpenCV face recognition to motion detection alerts and Home Assistant integration, this DIY approach offers features that rival commercial systems like Ring and Arlo.
By following this guide, you can create a Raspberry Pi security camera no monthly fee system that’s secure, smart, and tailored to your needs. Whether you’re a tech enthusiast or a budget-conscious homeowner, this DIY solution proves that you don’t need to break the bank for top-notch home security.
Follow Us
Trending News


Newsletter
Join us to get latest News Updates